
8 Vegetables You Can Grow at home
Now that spring is finally here to stay - we wanted to share how you can grow some delicious veggies at home! Gardening is one of our favorite hobbies and we are hoping you will enjoy just as much as we do!
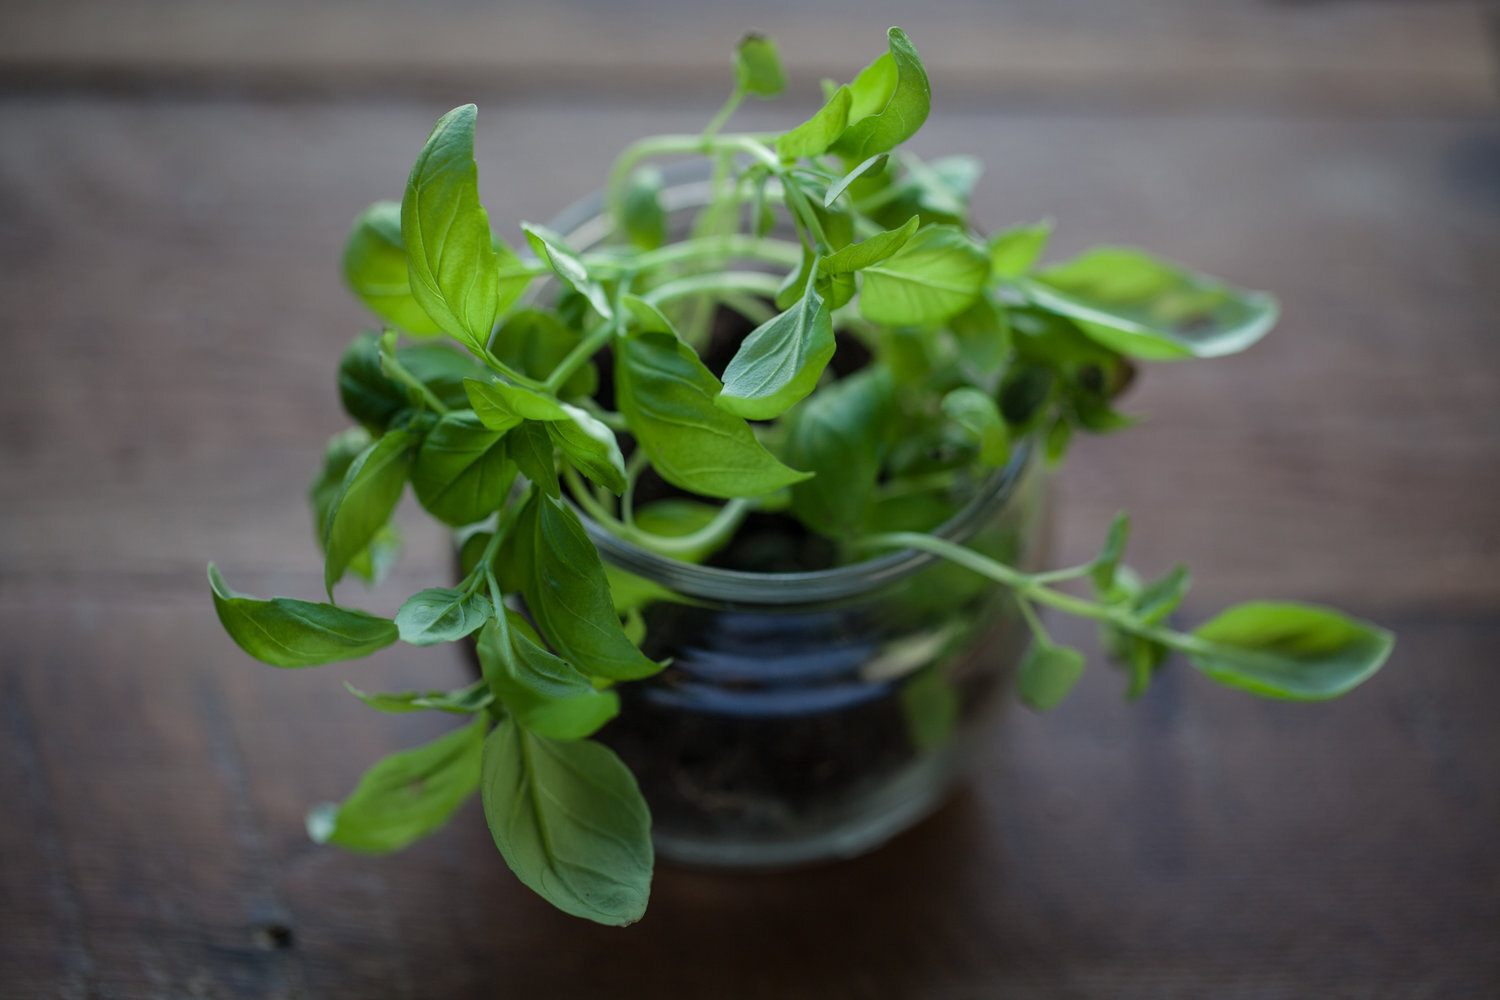
Pretty much everybody knows that you can grow herbs in your kitchen, lots of vegetables are just as simple and low-maintenance to grow. Plus, you can grow them both in containers and indoors.
You don’t have to wait for the right season to begin if you’re growing indoors, and everything you grow can be organic to boot. In some cases, you can even regrow your veggies from scraps!
How to get started
The Containers
Any dirt-filled container with a hole in the bottom will work, but some are more user-friendly—and attractive—than others. some ideas include tin toiletry storage bins from Target, plastic yogurt tubs, solo cups or even - ornate olive oil tins, and even burlap coffee sacks. (Sack farming is ideal for people who have very little space, as they are high in volume but take up little surface space—plus you can slit the sides and grow different plants!) Go through your recycling and get creative with it. You can use regular flowerpots too, of course.

The Prep
Add a bit of gravel to the bottom of the container to encourage drainage. If you don’t have gravel, you can use marbles, or a handful of actual rocks. Put some kind of saucer or dish underneath the container so It doesn’t leak all over your floor or counter when you water it, then fill the rest with soil. We recommend using an organic soil, if possible.
The Plants
If you’re starting your garden from seeds and want to keep it low-key in the beginning, we recommend Jiffy Peat Pellet Seed Starters, which are cheap and un-messy: You just add water, and they pop up, so you don’t have to fill up a Dixie cup with dirt or anything. Plus transplanting to larger containers is a easy. There are upsides to going to a garden store and buying your own greenhouse seedlings, however: They’ll be hardier, healthier, and more likely to thrive than the ones you start yourself.
The Veggies
Here are some of the easiest, and most useful vegetables that we like.
Salad Greens, Like Spinach, Arugula, Mesclun, and Loose-Leaf Lettuces
These guys couldn’t be easier: Just water every day, get your scissors, and custom-snip yourself a salad. Have a few pots going at once and plant new seeds every 10 to 14 days to ensure a steady salad supply. Greens are perfectly happy in smaller containers too. You can segregate your salad species pot by pot or plant from a seed packet of mixed greens. Chard, in particular, especially the rainbow-hued bright lights variety, doesn’t need a lot of attention and brings delicious, brilliant results.
Celery
If you plant it from seed, celery takes about 120 long days from germination to harvest, but you can speed up the process significantly: Just take the base of an old bunch of celery and let it sit in water for five to seven days, until leaves start to grow out of the top and roots sprout from the base. Then replant it in a pot with soil loosely covering the roots and watch it go to town. Break off a few stalks as you need them, leaving the rest of the bunch intact and alive. Celery’s easy as long as you water it daily; but don’t drown it, as the outer stalks can develop rot.
Potatoes (Both Sweet and Regular)
If you take a sprouted old potato from the supermarket, cut it up into chunks (two or three sprouts per chunk), lay them sprout-side-up on at least four inches of soil (no gravel required), and bury them in another four inches of dirt… they make more potatoes!
It takes between one to two months before they are ready, depending on the variety, and you need to keep adding soil for them to grow in as the plants get taller and taller. But it’s so, so exciting to rummage around in the dirt and pull up your own spuds. There are actually potato-growing sacks out there, with flaps at the bottom for easier harvesting, but a large pot works just as well.
The potatoes will tell you when they’re ready because the foliage will turn yellow—when this happens, cut the plants and leave them alone for 10 days before harvesting the potatoes underneath. A note: Make sure you cure your potatoes (super easy process!) before you eat them.
Radishes
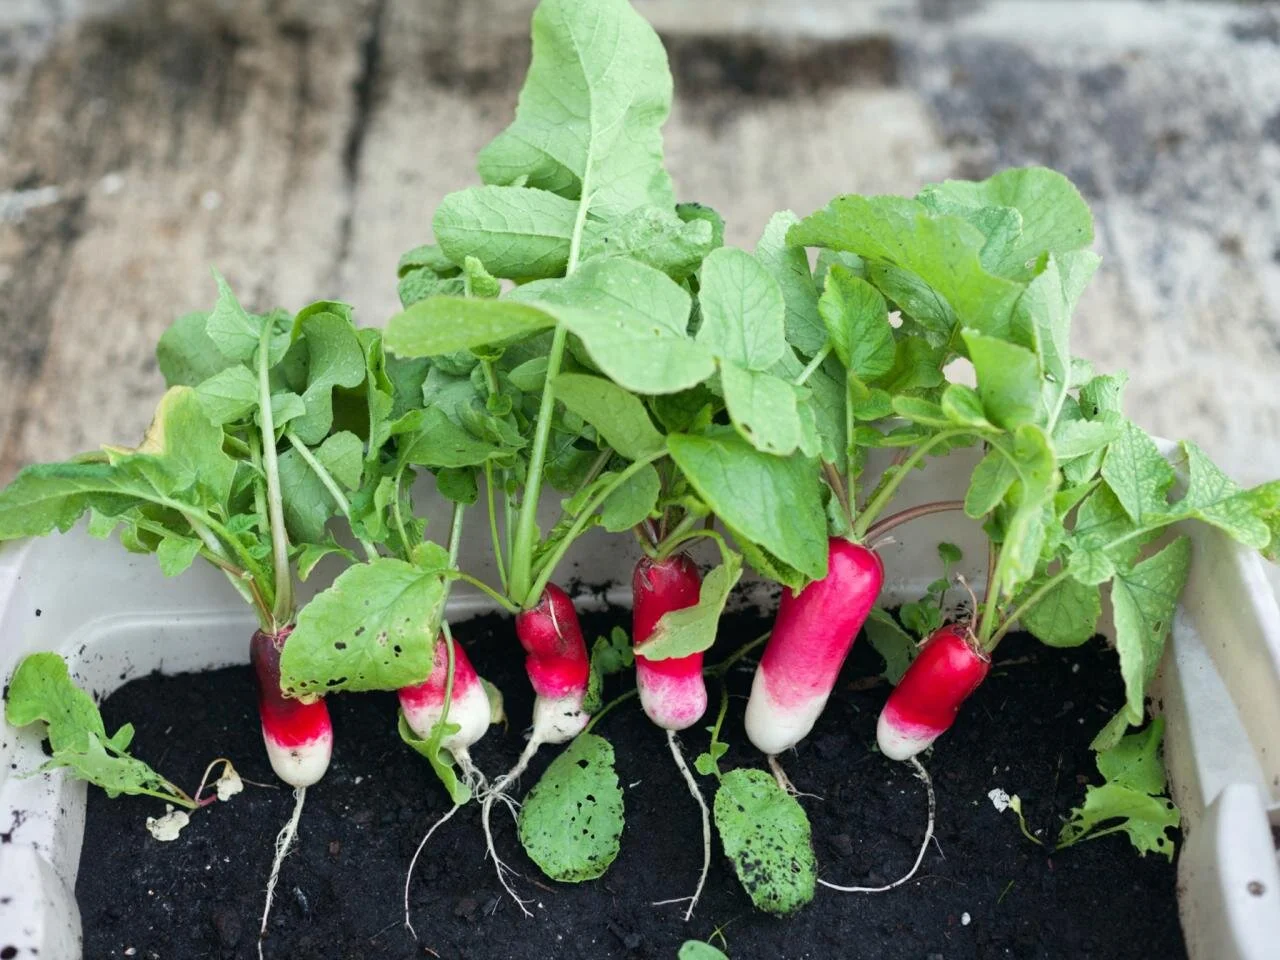
Growing radishes is as easy as can be, and they grow fast, with only 30 to 40 days from germination to harvest. There are all kinds of fun, colorful varieties too—easter egg radishes are a favorite. They don’t like to be crowded, so you’ll have to thin out the herd if they sprout too close together.
Other than that, just plant the seeds under half an inch of soil in a container that has at least eight inches of soil in it, water them every day, and pull them up as soon as they’re ready so they don’t get bitter.
Try perfectly simple Radish Sandwiches With Butter, Salt, and Herbs (or, with… tacos).
Carrots
Similar to radishes, carrots don’t need much space, and the sprouts also need to be thinned out—they like to have one to two inches of wingspan, so to speak. They tend to need deeper soil than radishes, and they typically take about twice as long to harvest (around 70 days), but they’re essentially as simple to grow. If you want to save time—and heartbreak, if you love all of your plants like pets, even the babies—you can buy carrot seed tape or pelleted seed that eliminates the need to thin your crop by hand..
Chile Peppers
If you live in northern climate: You can still grow chiles indoors, as long as you can give them at least six hours of bright sunlight a day and don’t keep your thermostat below 70 degrees. They can be even grown from the seeds you scrape out of your store-bought chiles, as long as they’re organic.
Easiest to grow - jalapeños, habaneros, and Thai bird’s-eye chilis in a 16-inch pot. This is one plant that will benefit from a grow light or from being placed outdoors during warm weather, if possible.
Chiles are self-pollinating, but outdoor insects help them out with this process, so if your chiles are flowering but not fruiting, it’s easy to hand-pollinate them—just tap the stems gently once the flowers have bloomed in order to spread the pollen.
Tomatoes

Tomatoes, like their nightshade cousins chile peppers, are self-pollinating, and many varieties can thrive in containers. Smaller tomatoes like Red Robins, Yellow Pears, Tiny Tims, and Florida Petites are all good choices.
Tomatoes can tolerate a bit colder than chiles as well—a minimum of 65 degrees or so. Nothing is worse than a mealy, pale, flavorless wintertime tomato, and so having access to your own sunny, organic toms will brighten your whole season. If you love tomatoes, you can start a new pot every two weeks to keep the cycle coming.Since tomatoes are self-pollinating, the chile pepper rules apply: If they’re not doing the thing on their own, just tap the stems of the open flowers to get the pollen moving around.
Kale
Kale can thrive in an outdoor garden, but it’s perfectly content indoors too—possibly even more so, as it doesn’t love either frost or heat. You can keep it going all year round, so long as you stay on top of the watering and direct sunlight.
Depending on your available gardening space, dwarf varieties might be preferable, such as Dwarf Blue Curled Kale, which ends up being about one foot by one foot. (It makes a pretty houseplant too!) If you’re aiming for microgreens, kale sprouts are ready in a couple weeks; the plants take about two months to reach maturity.
Scallions
Scallions are by far the easiest vegetable to grow from scraps. All you do is take the white ends of the scallions, stick ’em in enough water to submerge the roots and change the water every few days. After a week, you can plant them in a pot. Then just snip off the fresh ends with a pair of scissors to season your meals. Voila! Never buy scallions again! If they start to flower, it’s no problem—the zingy blossoms are great in salads.